1 / 5
Make a small incision (1-3 cm) near the fracture site, avoiding important nerves and blood vessels. Gently separate soft tissues layer by layer to fully expose the fracture end.
Restore the fracture to its normal anatomical position using manual traction and rotation. Continuously monitor the effect under C-arm fluoroscopy for accuracy.
Determine the entry point and insert the guide wire under fluoroscopic guidance. The wire should be as perpendicular as possible to the fracture plane.
Use a dedicated measuring device over the guide wire. Alternatively, use a second guide wire of equal length to measure the protruding difference to determine the required drill depth.
Select a cannulated drill bit based on screw size. Drill along the guide wire using irrigation solution to minimize thermal injury. Verify depth with an image intensifier.
Mount the screw head onto the compression sleeve and insert manually over the guide wire. Advance the screw until the head is flush with the bone and trailing threads are fully buried.
Irrigate the wound with normal saline, suture in layers (deep tissues then skin), and apply appropriate dressing or splinting to assist healing.
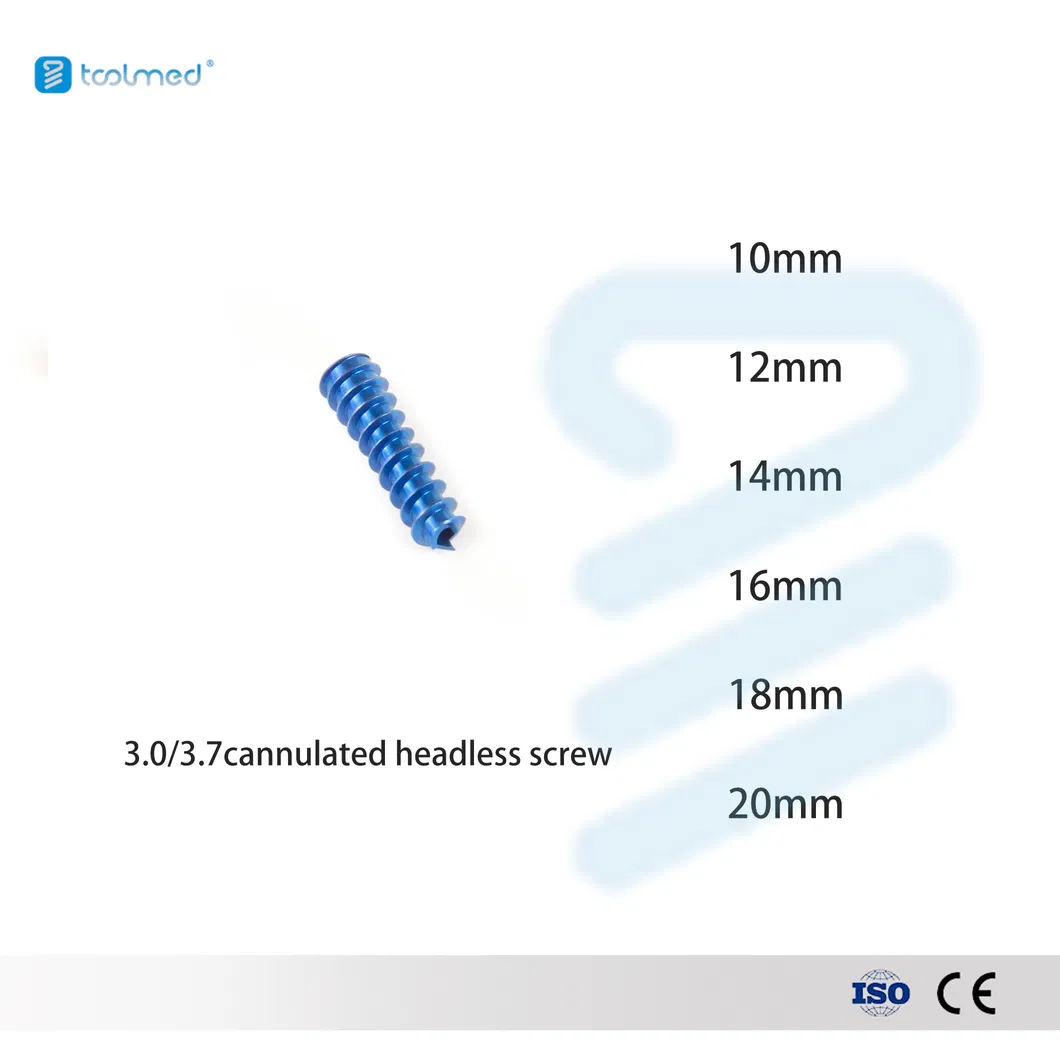
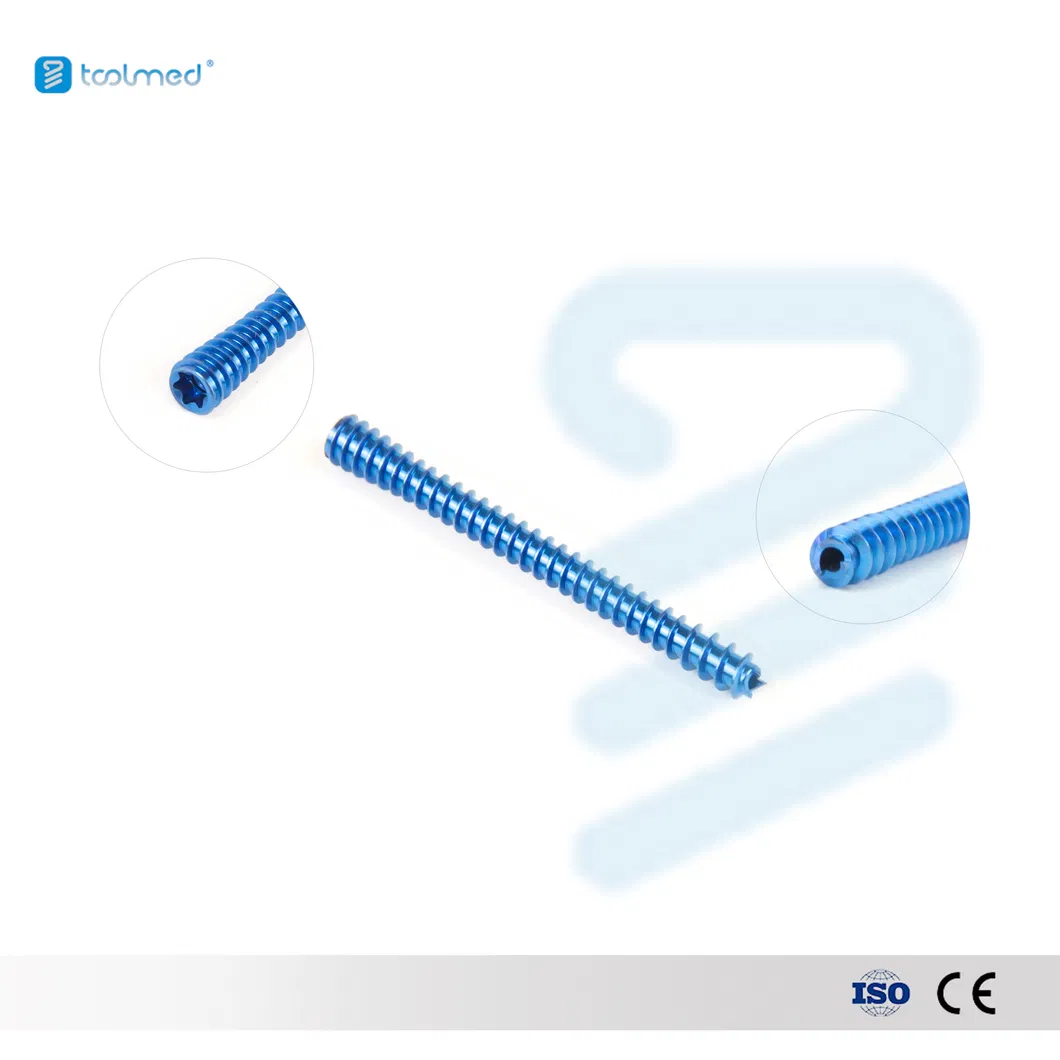
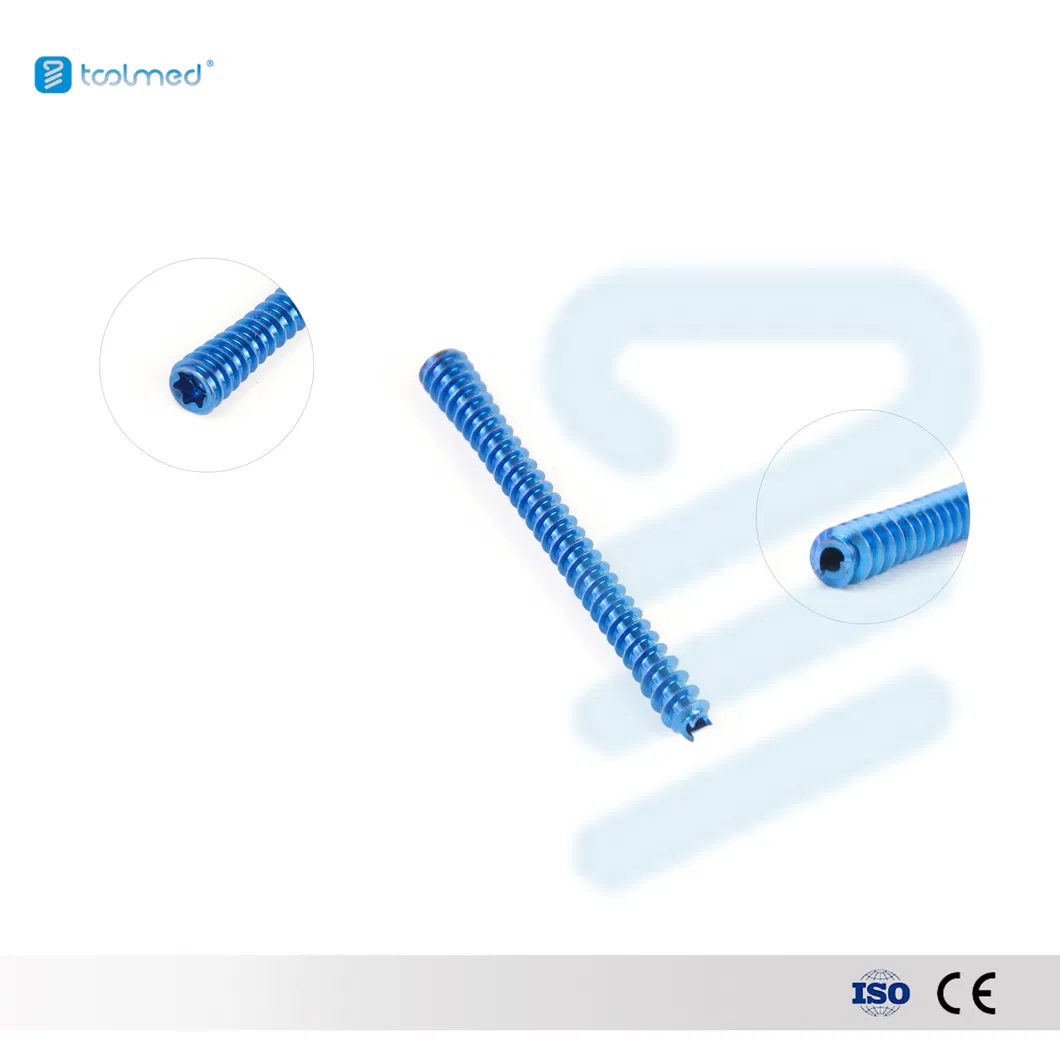
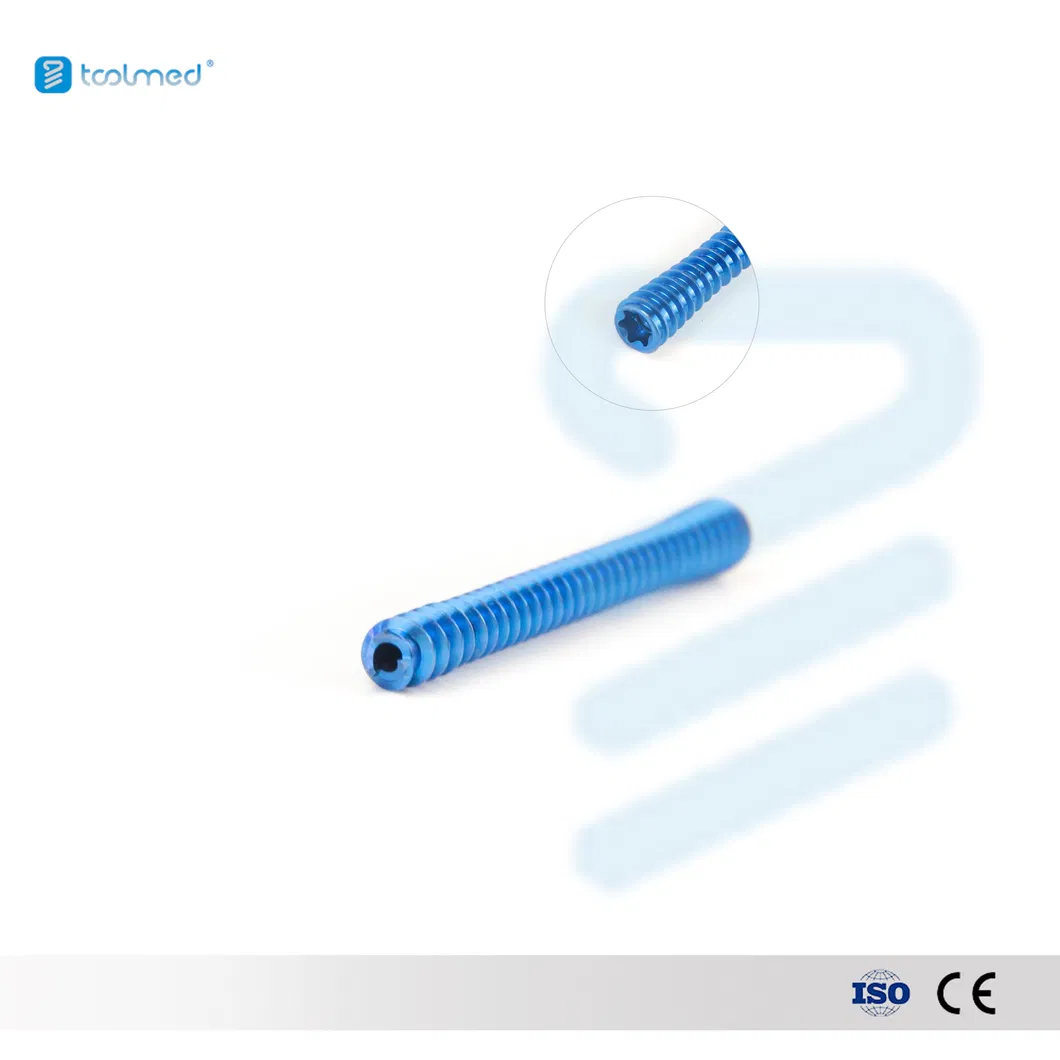
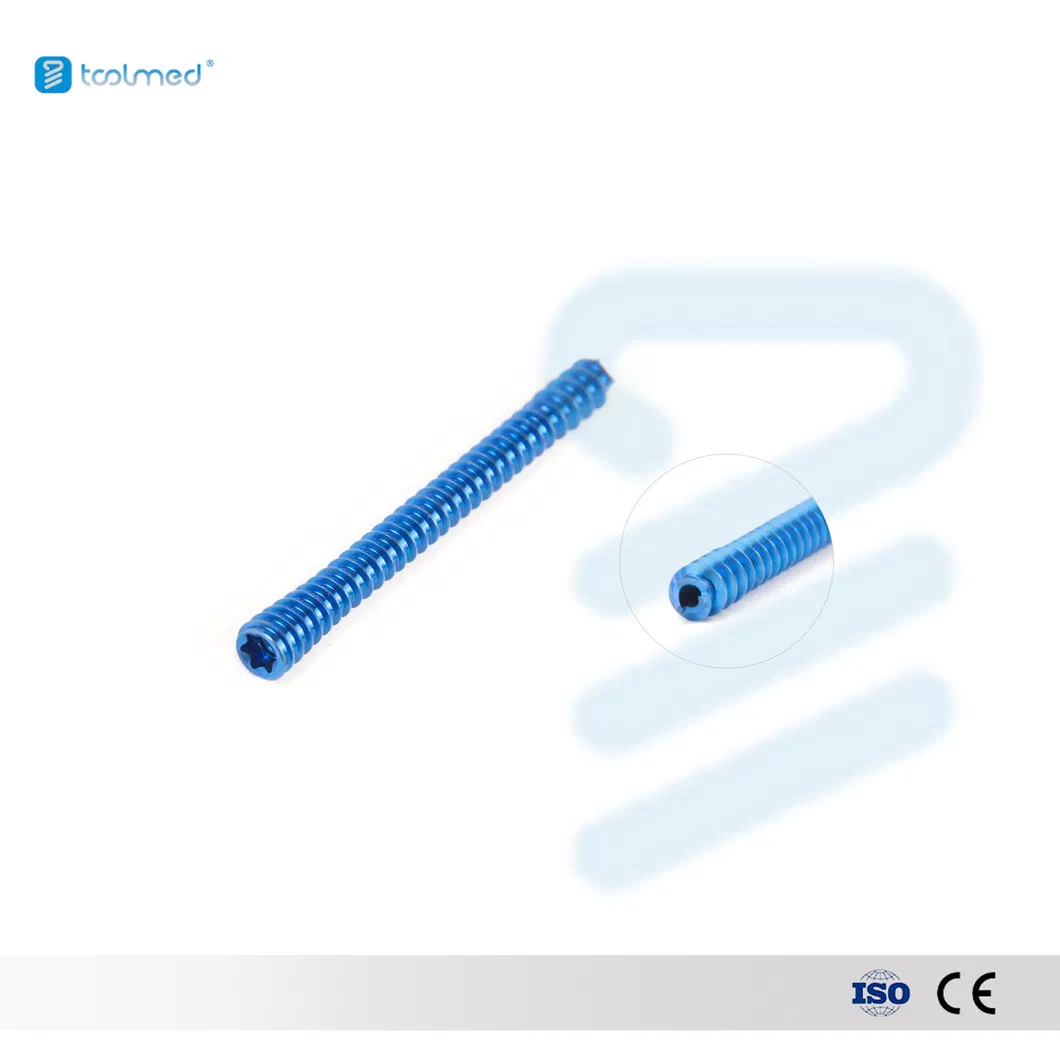
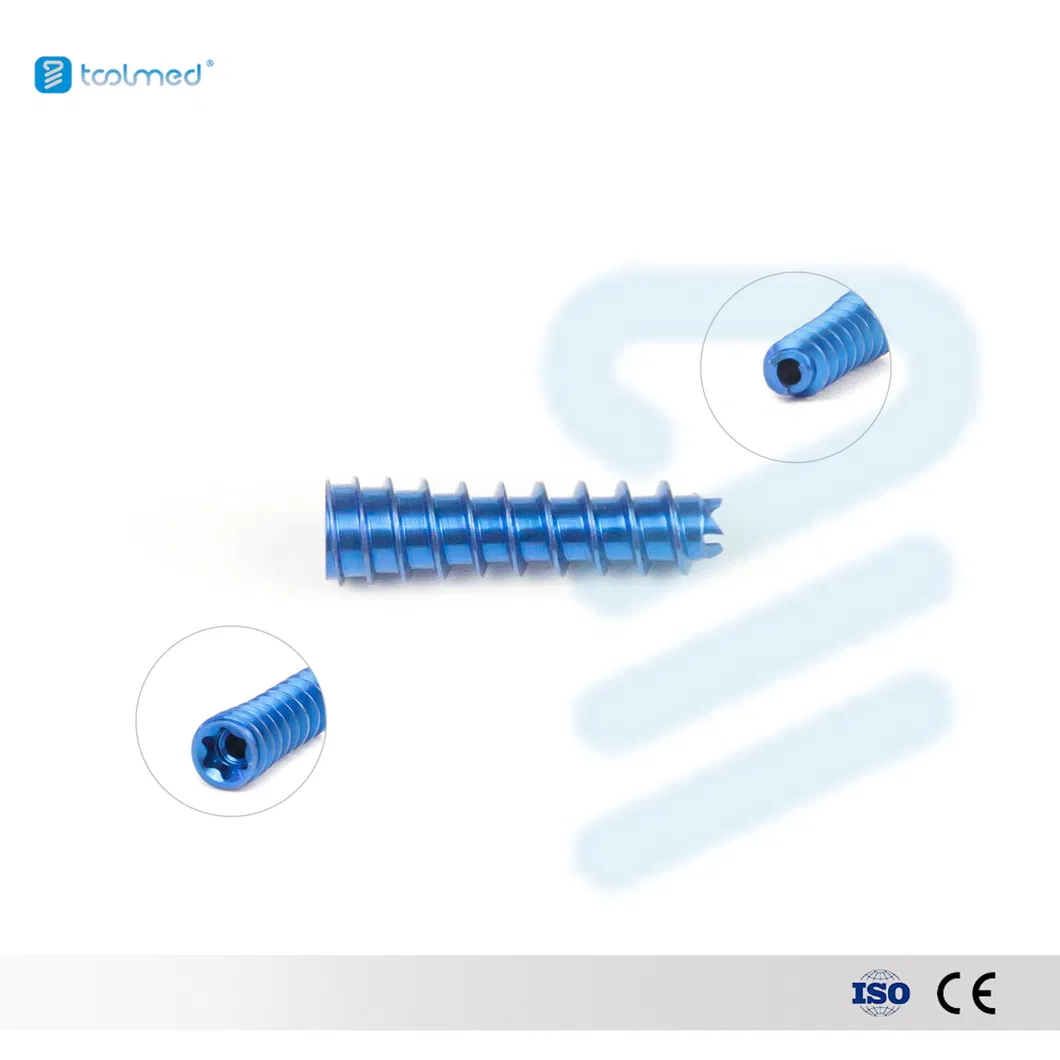
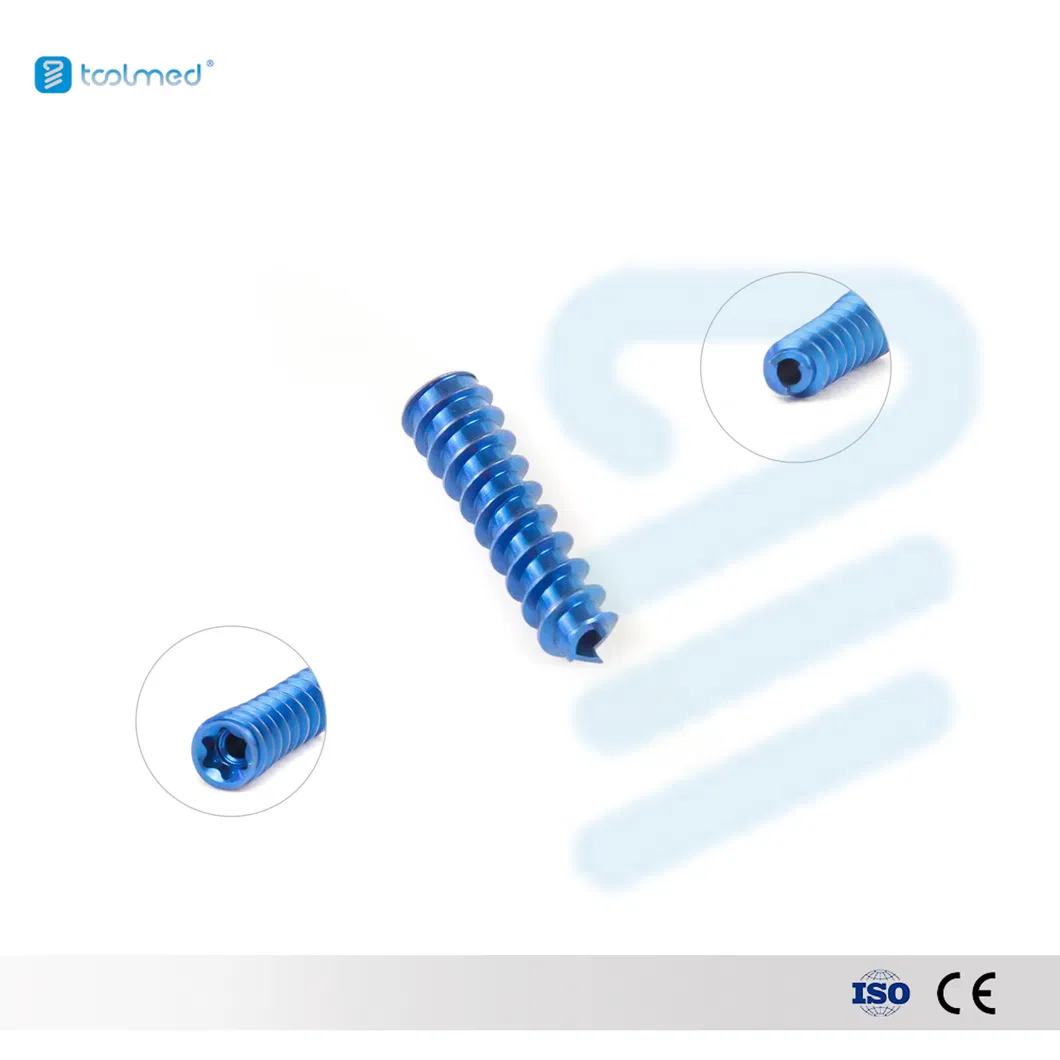
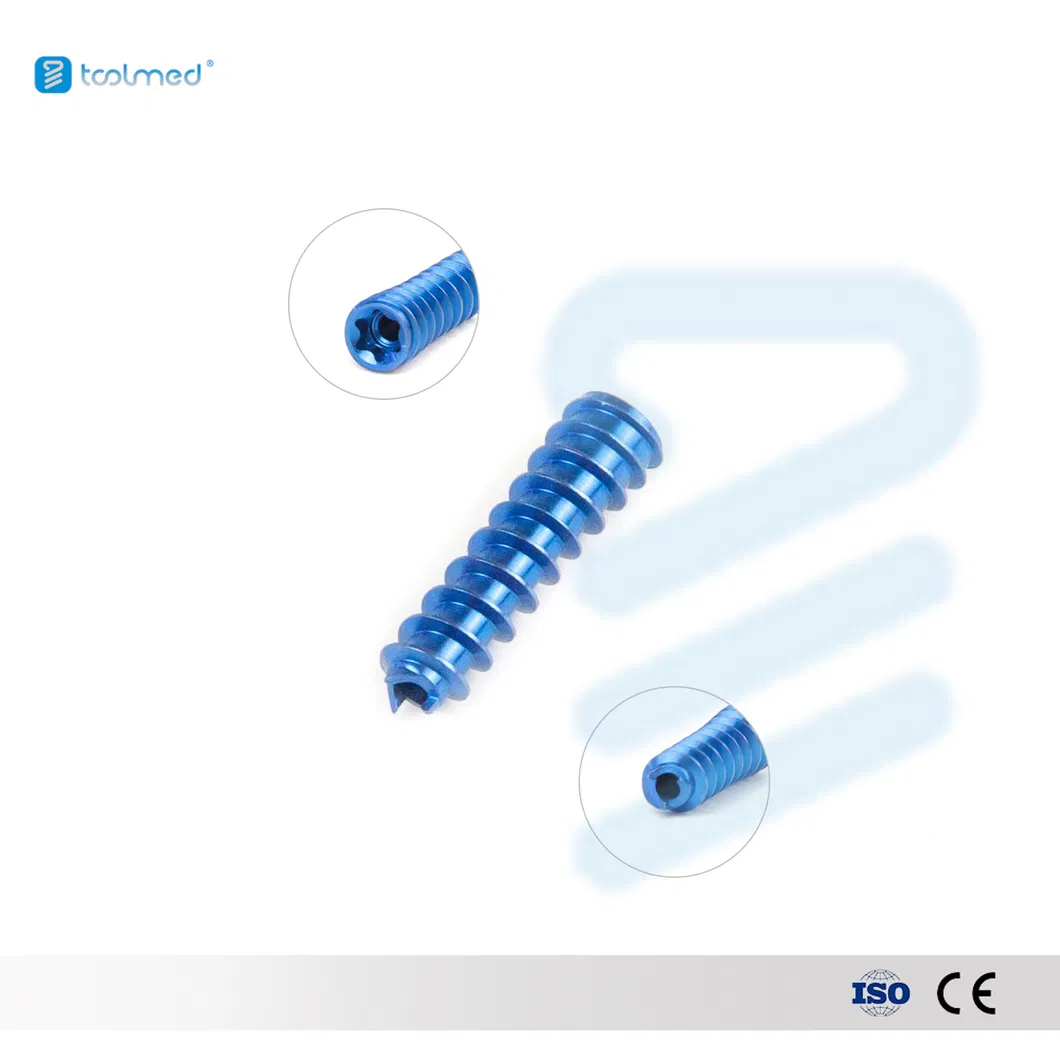
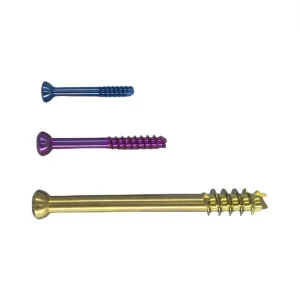
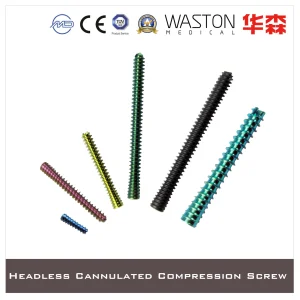
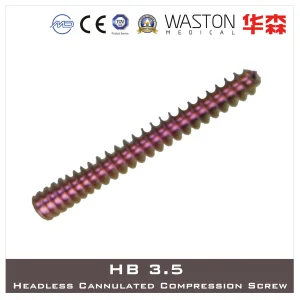
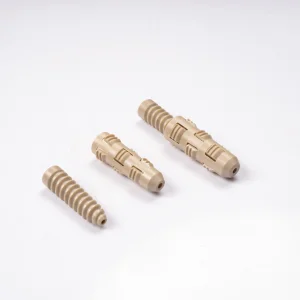
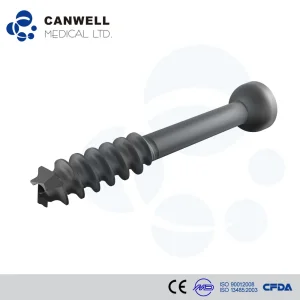
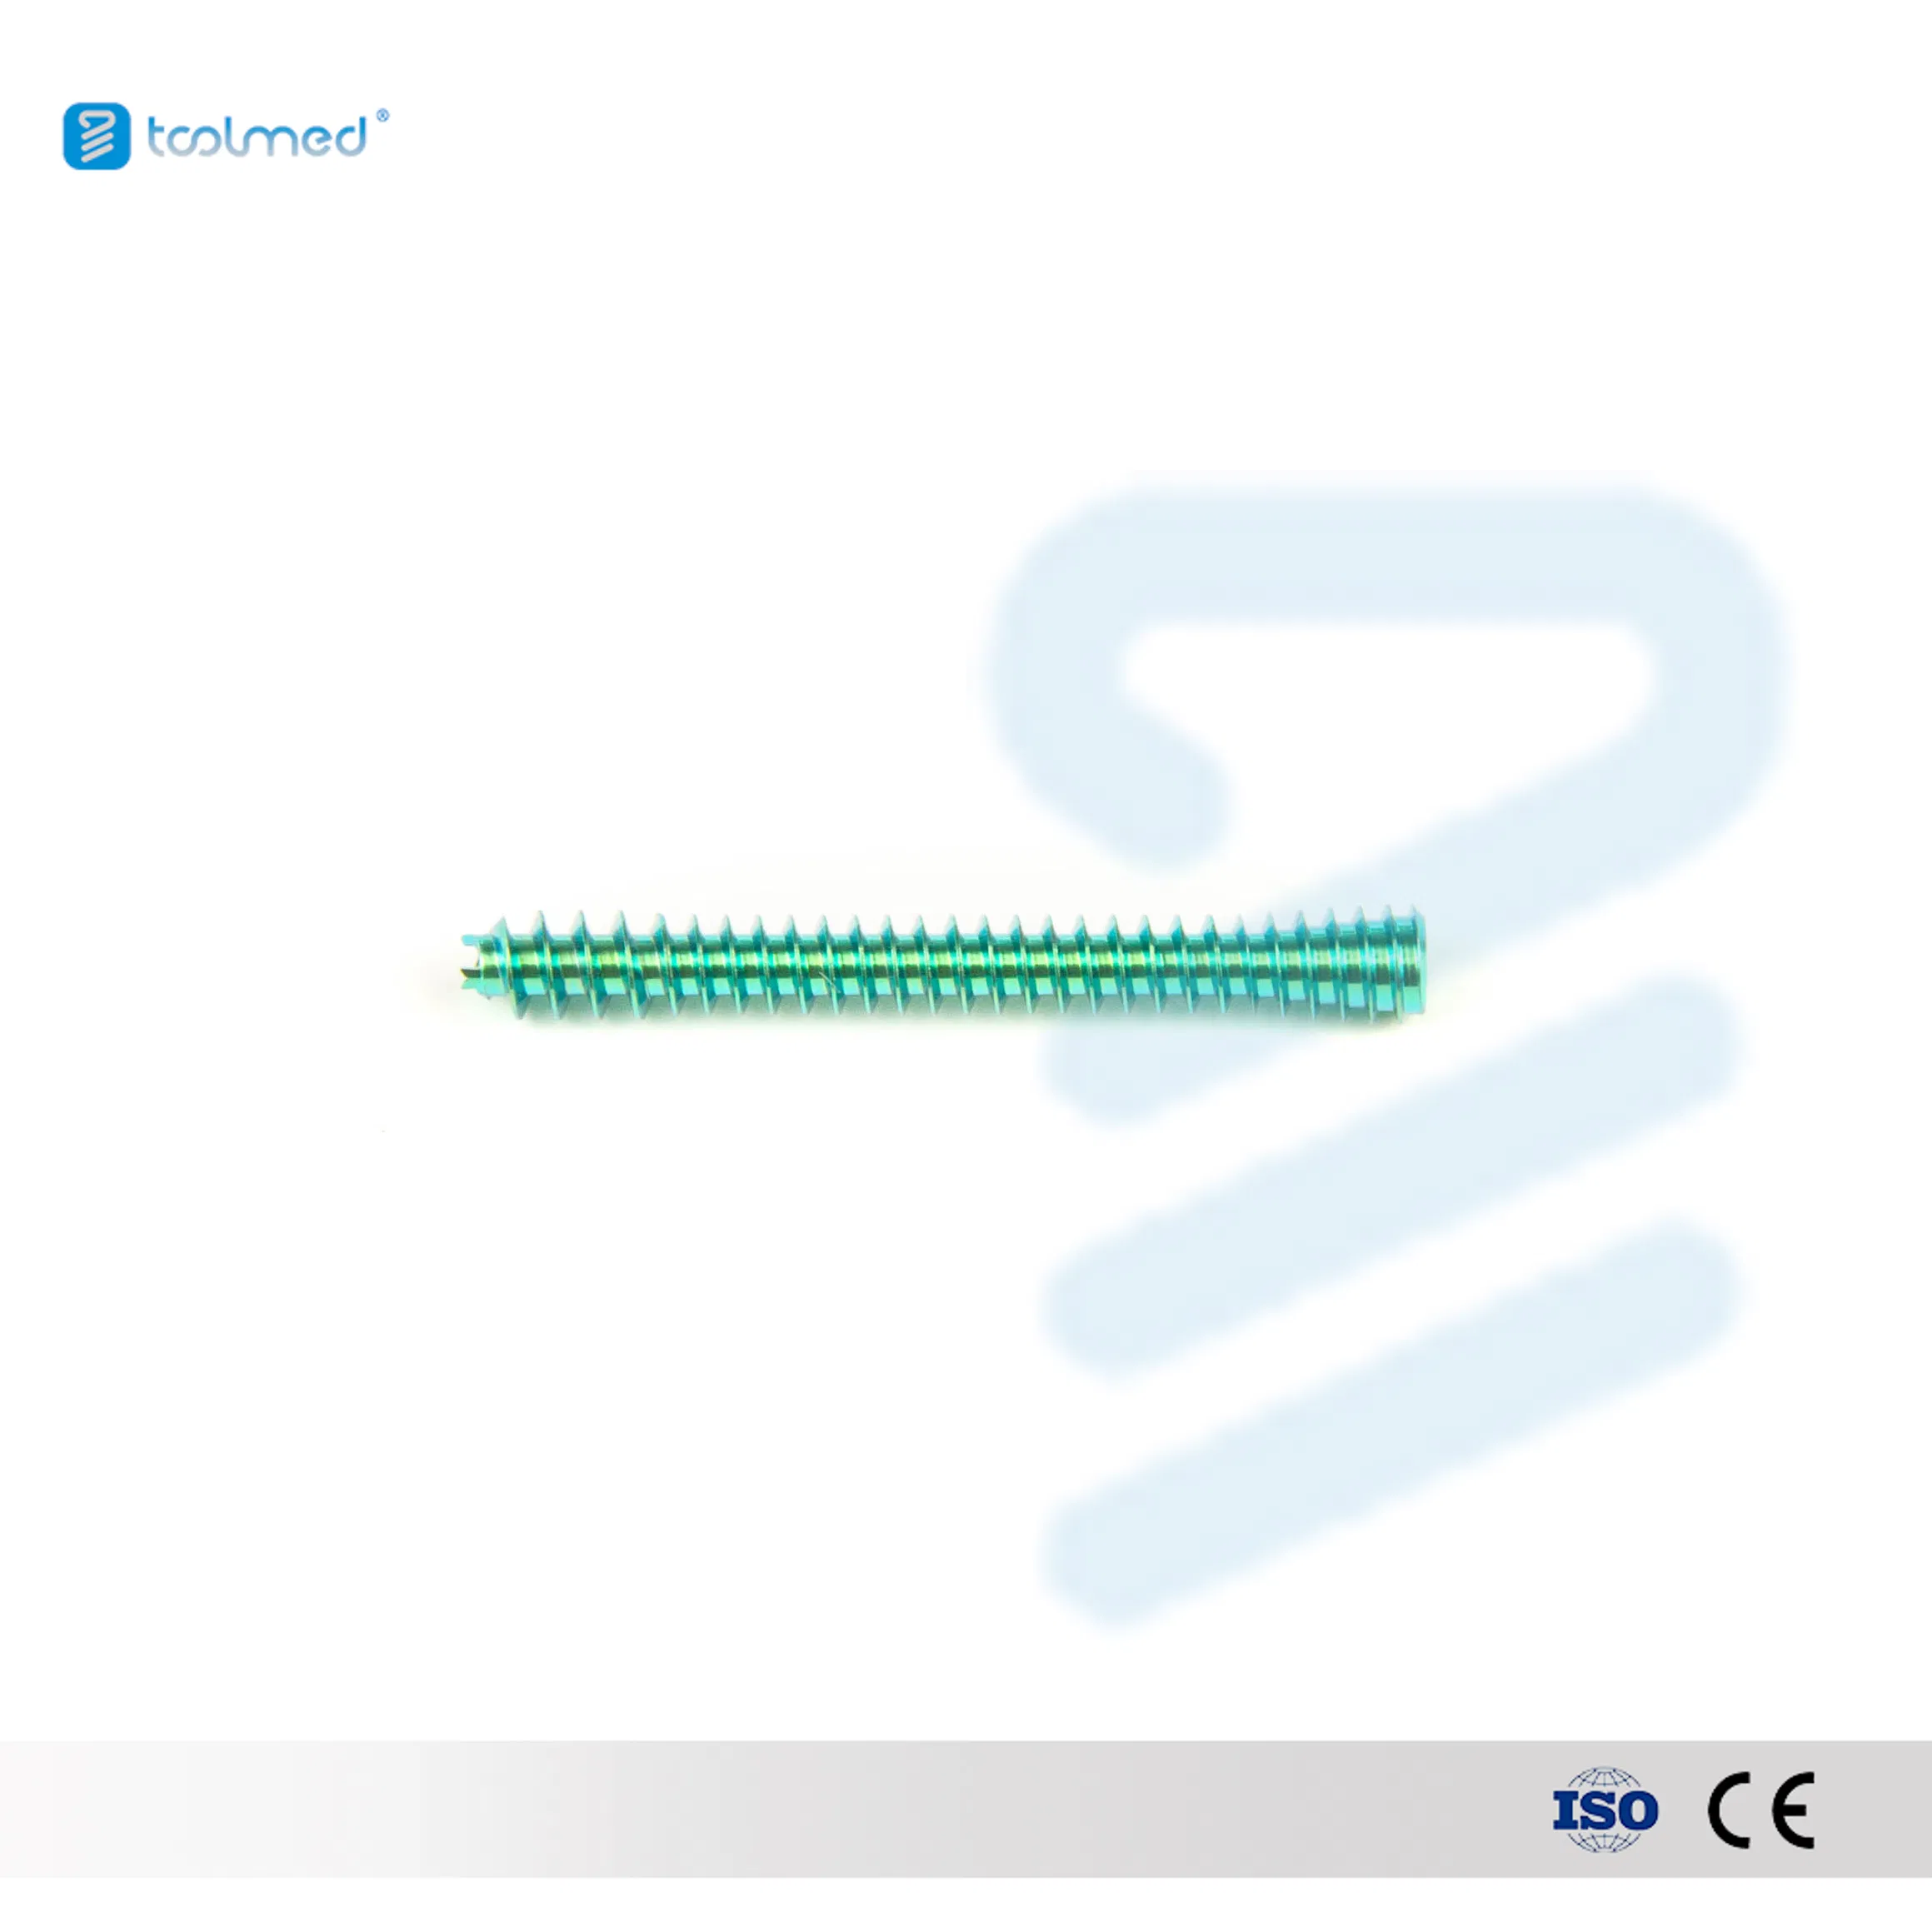
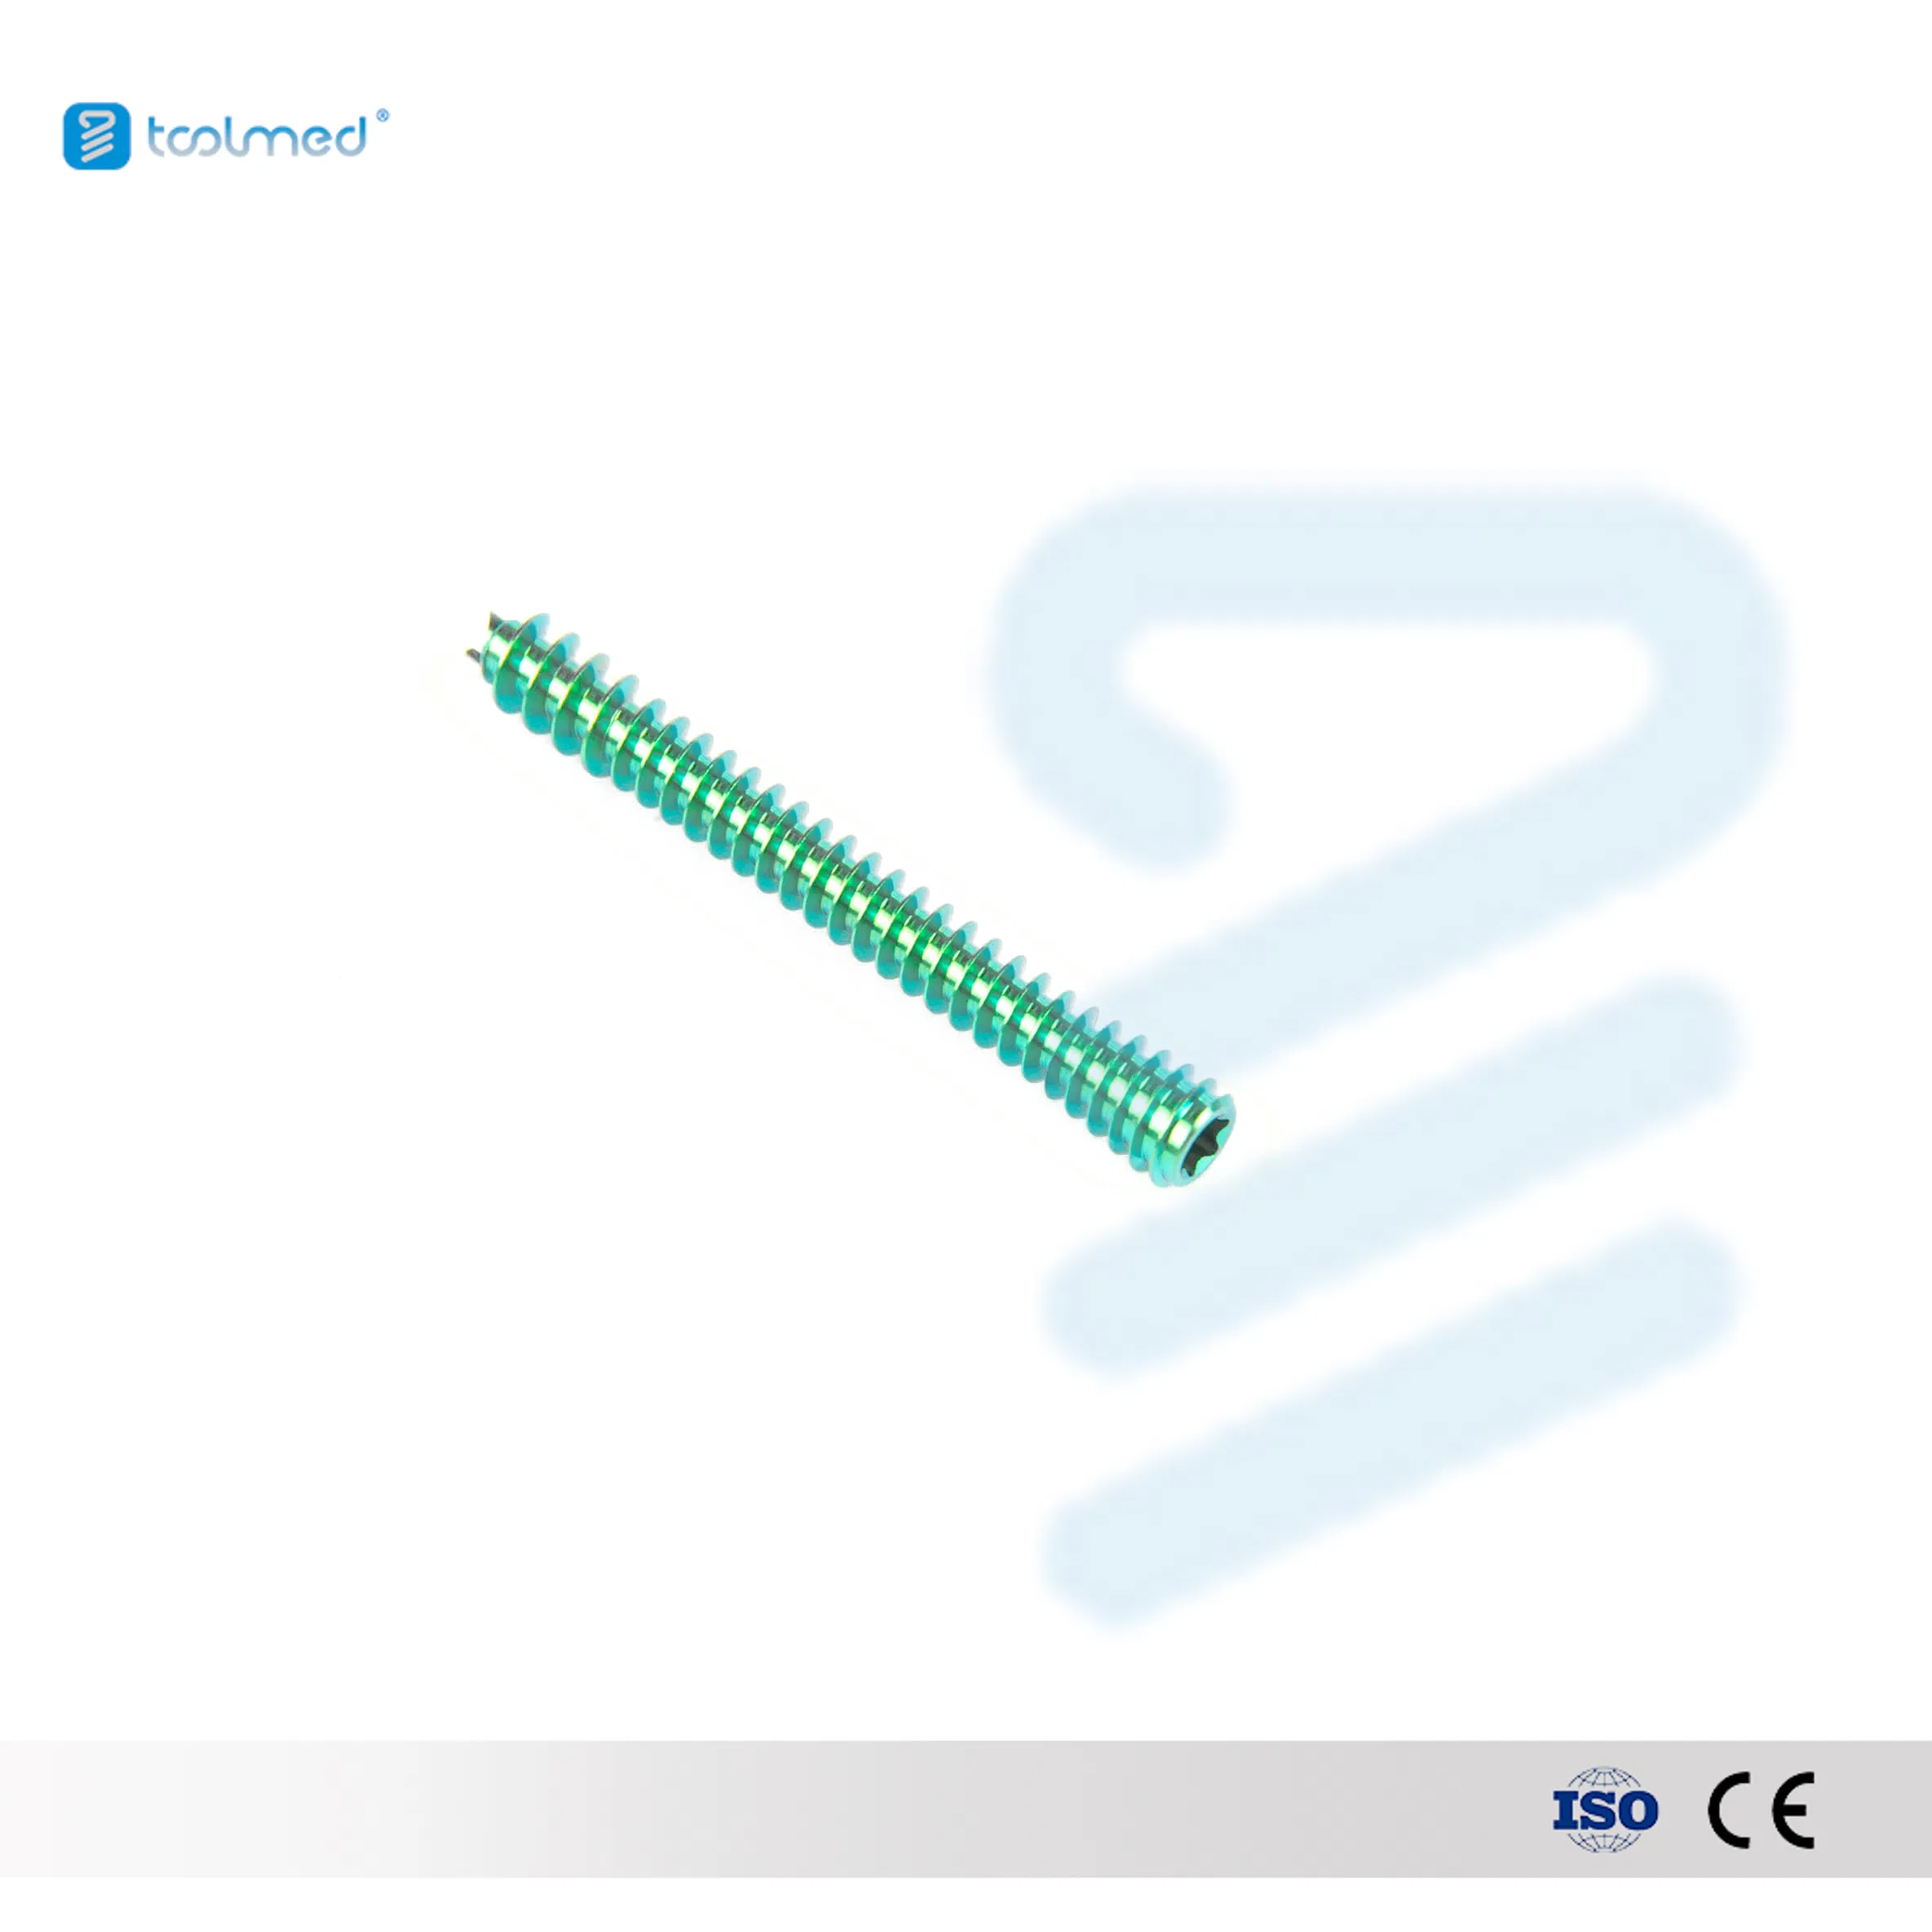
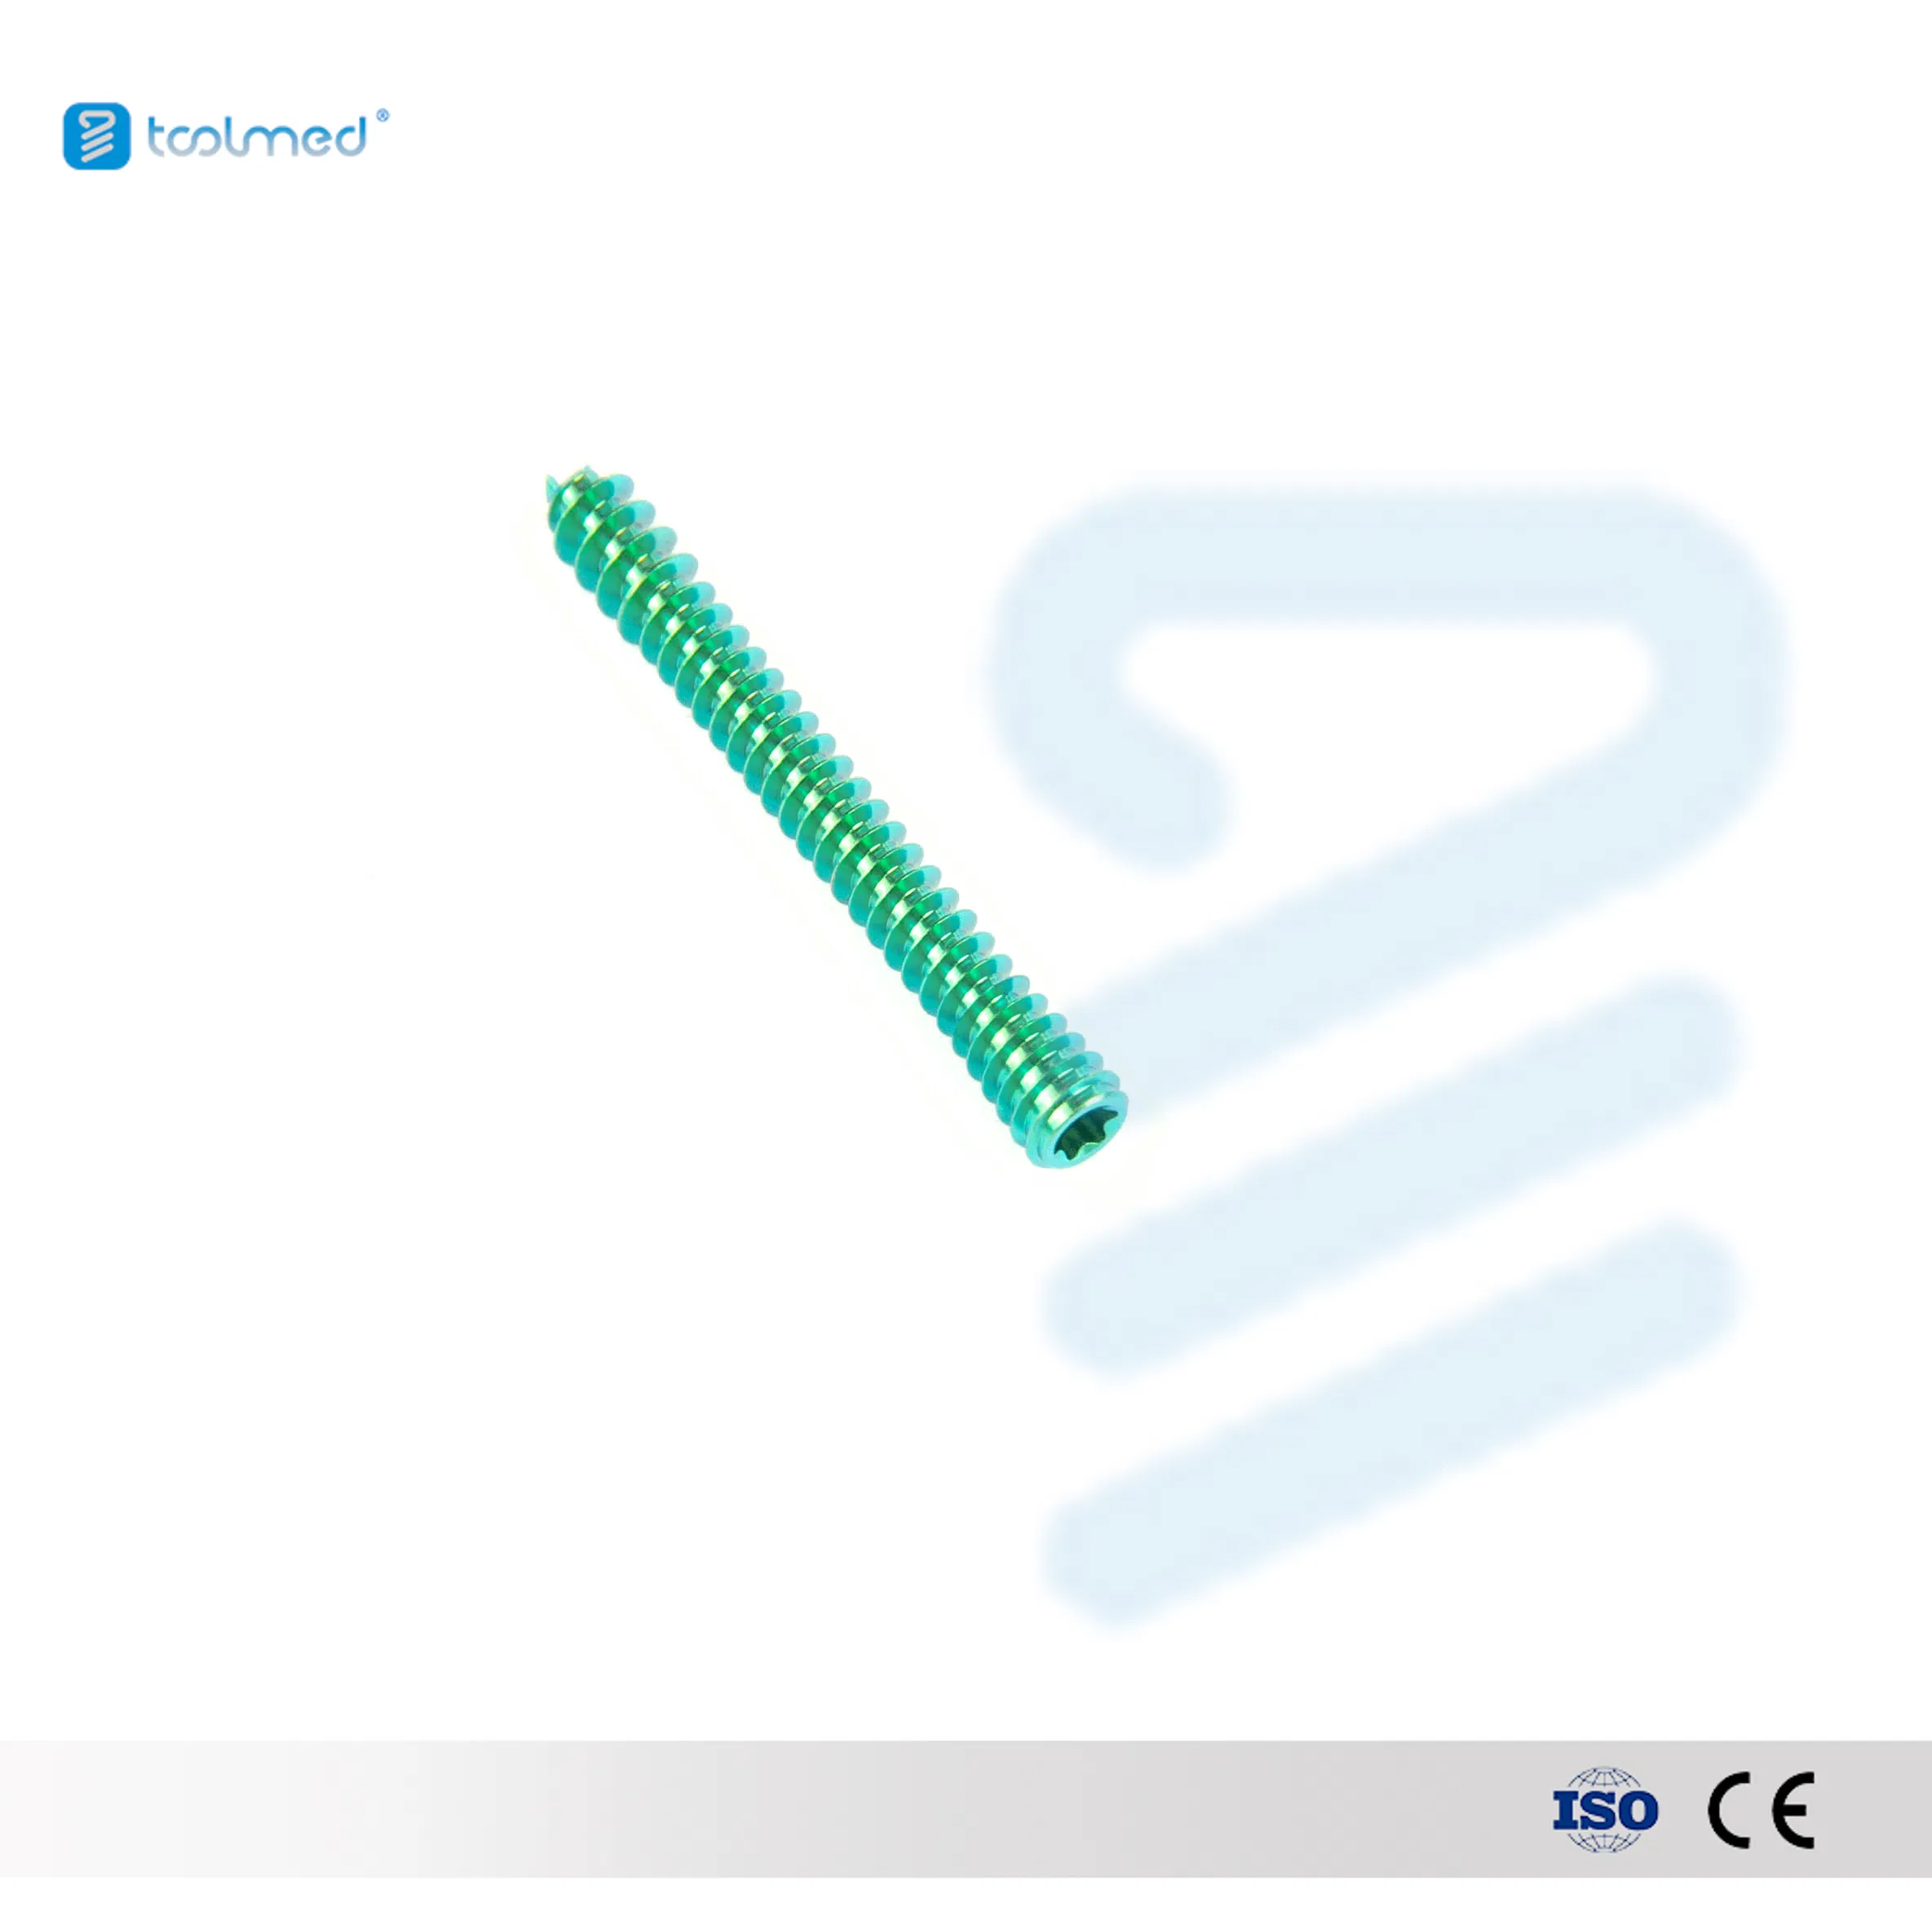
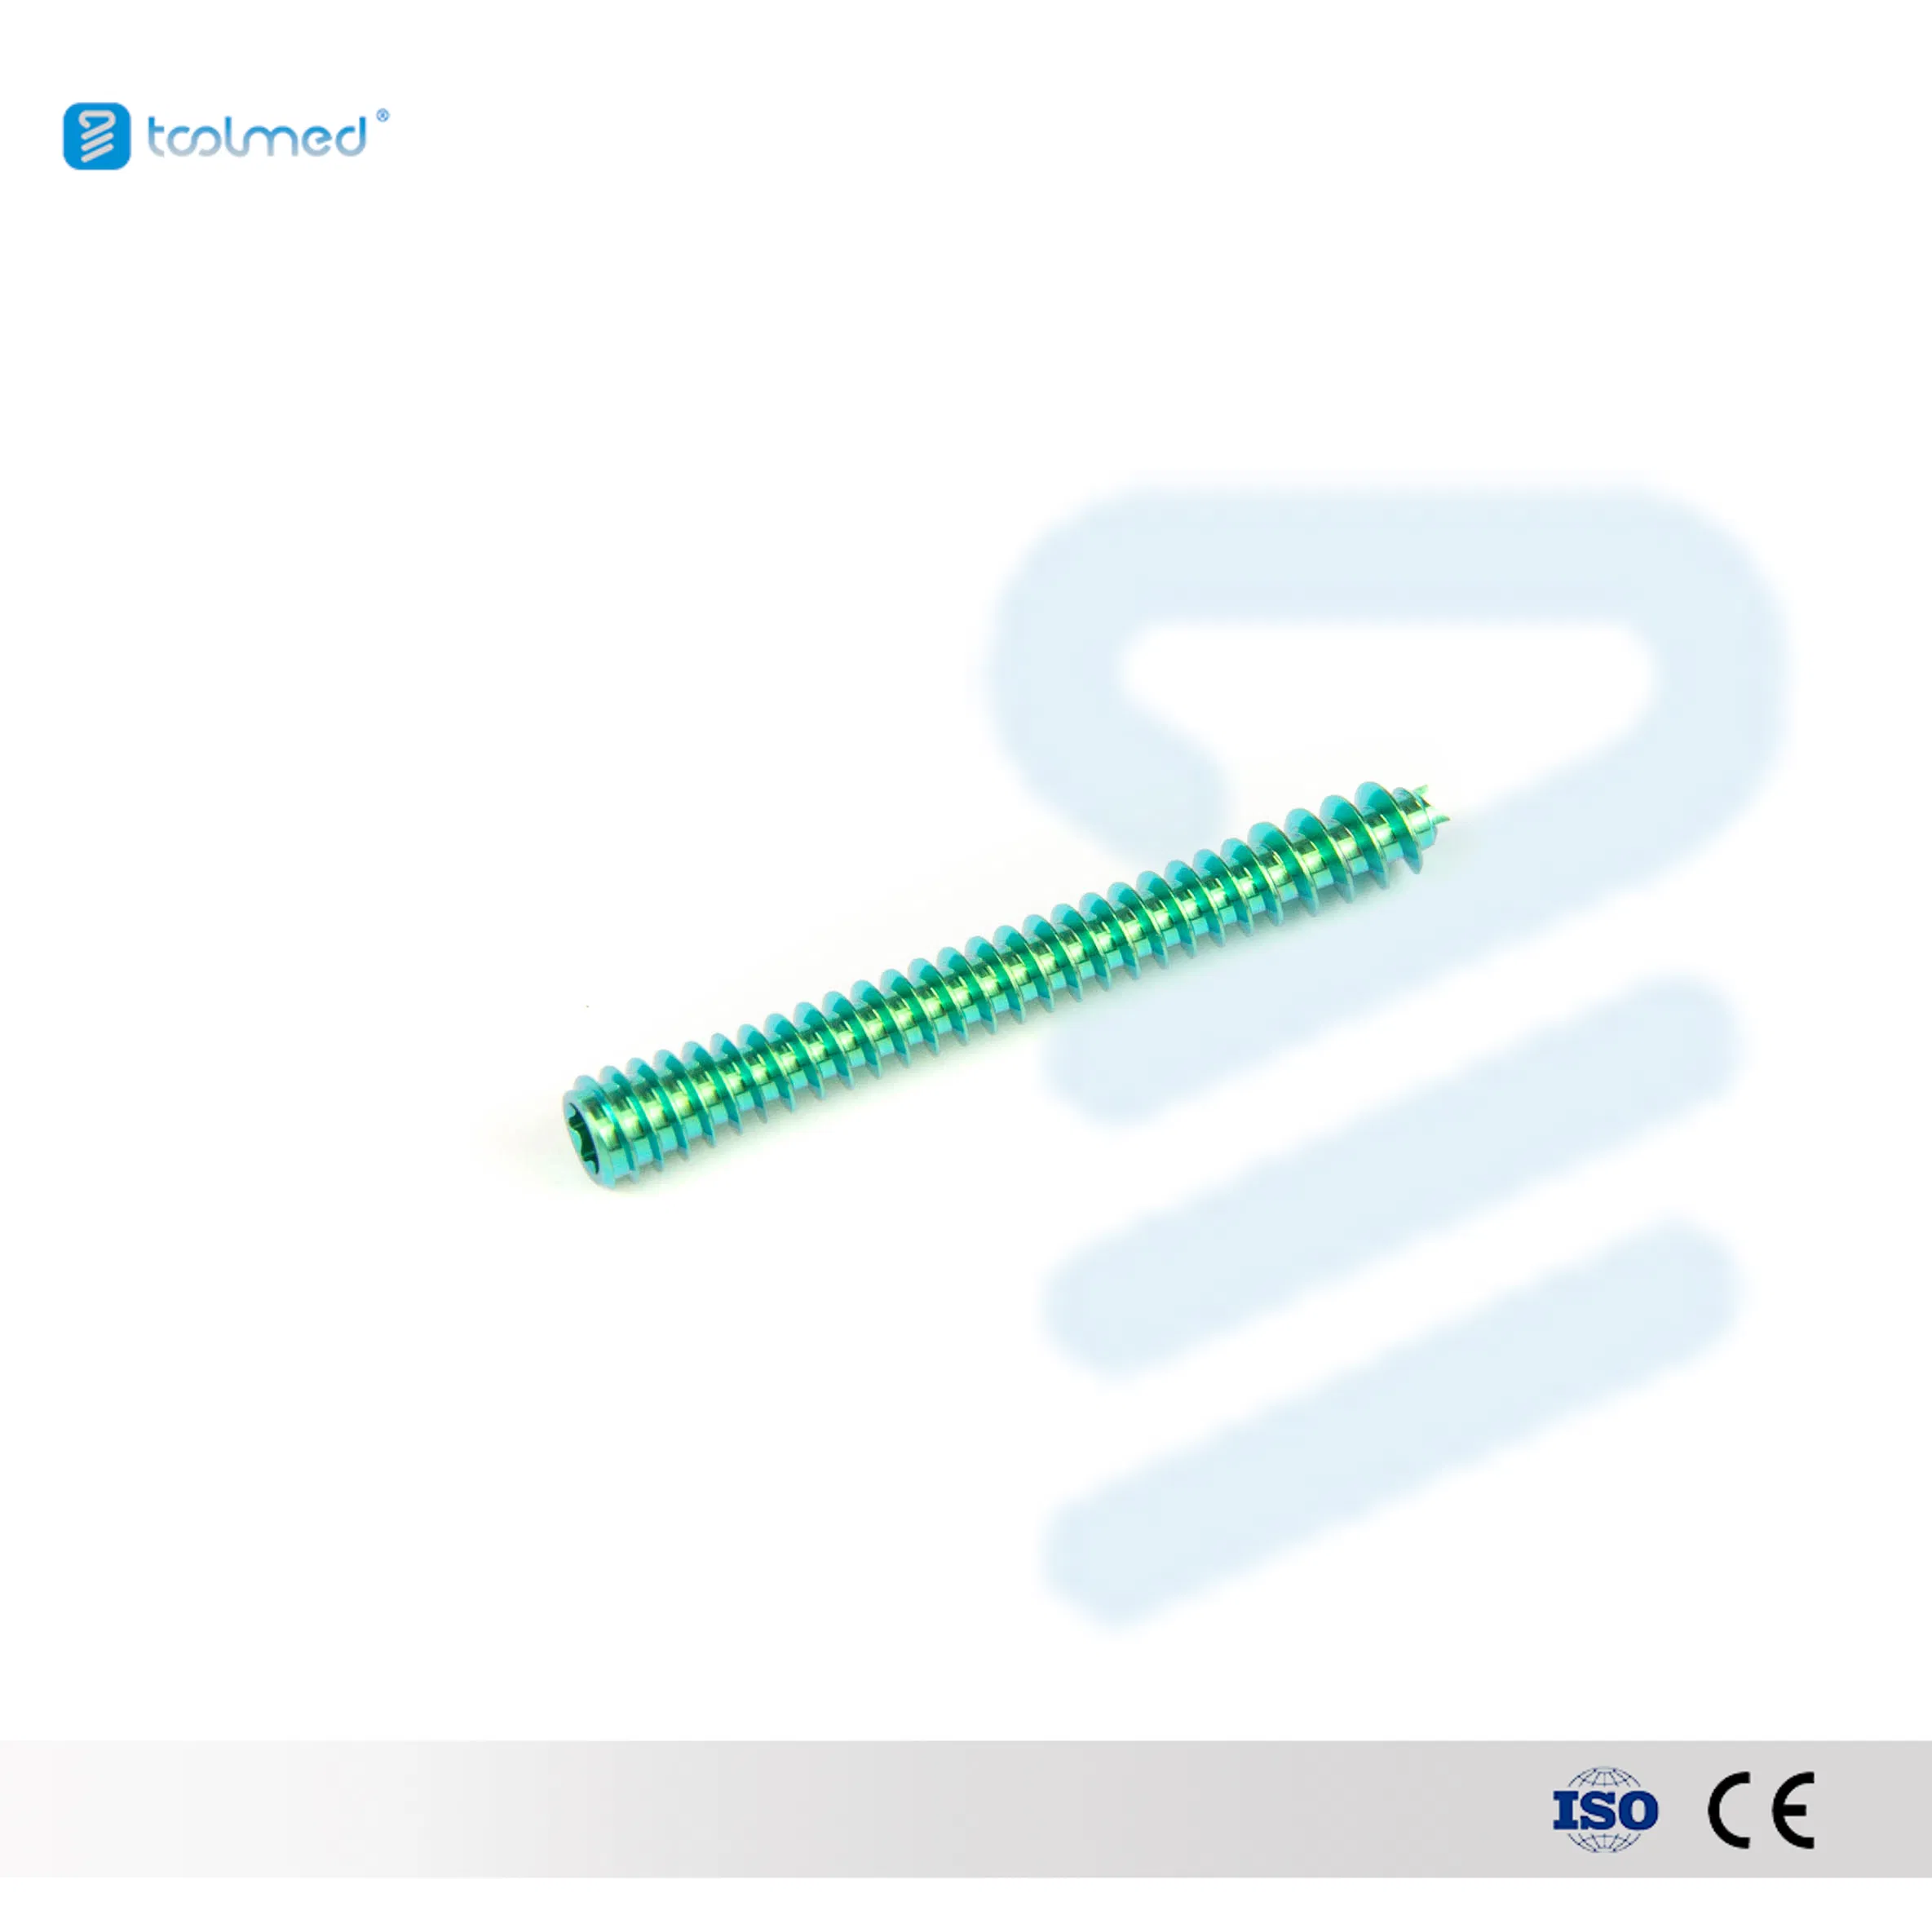
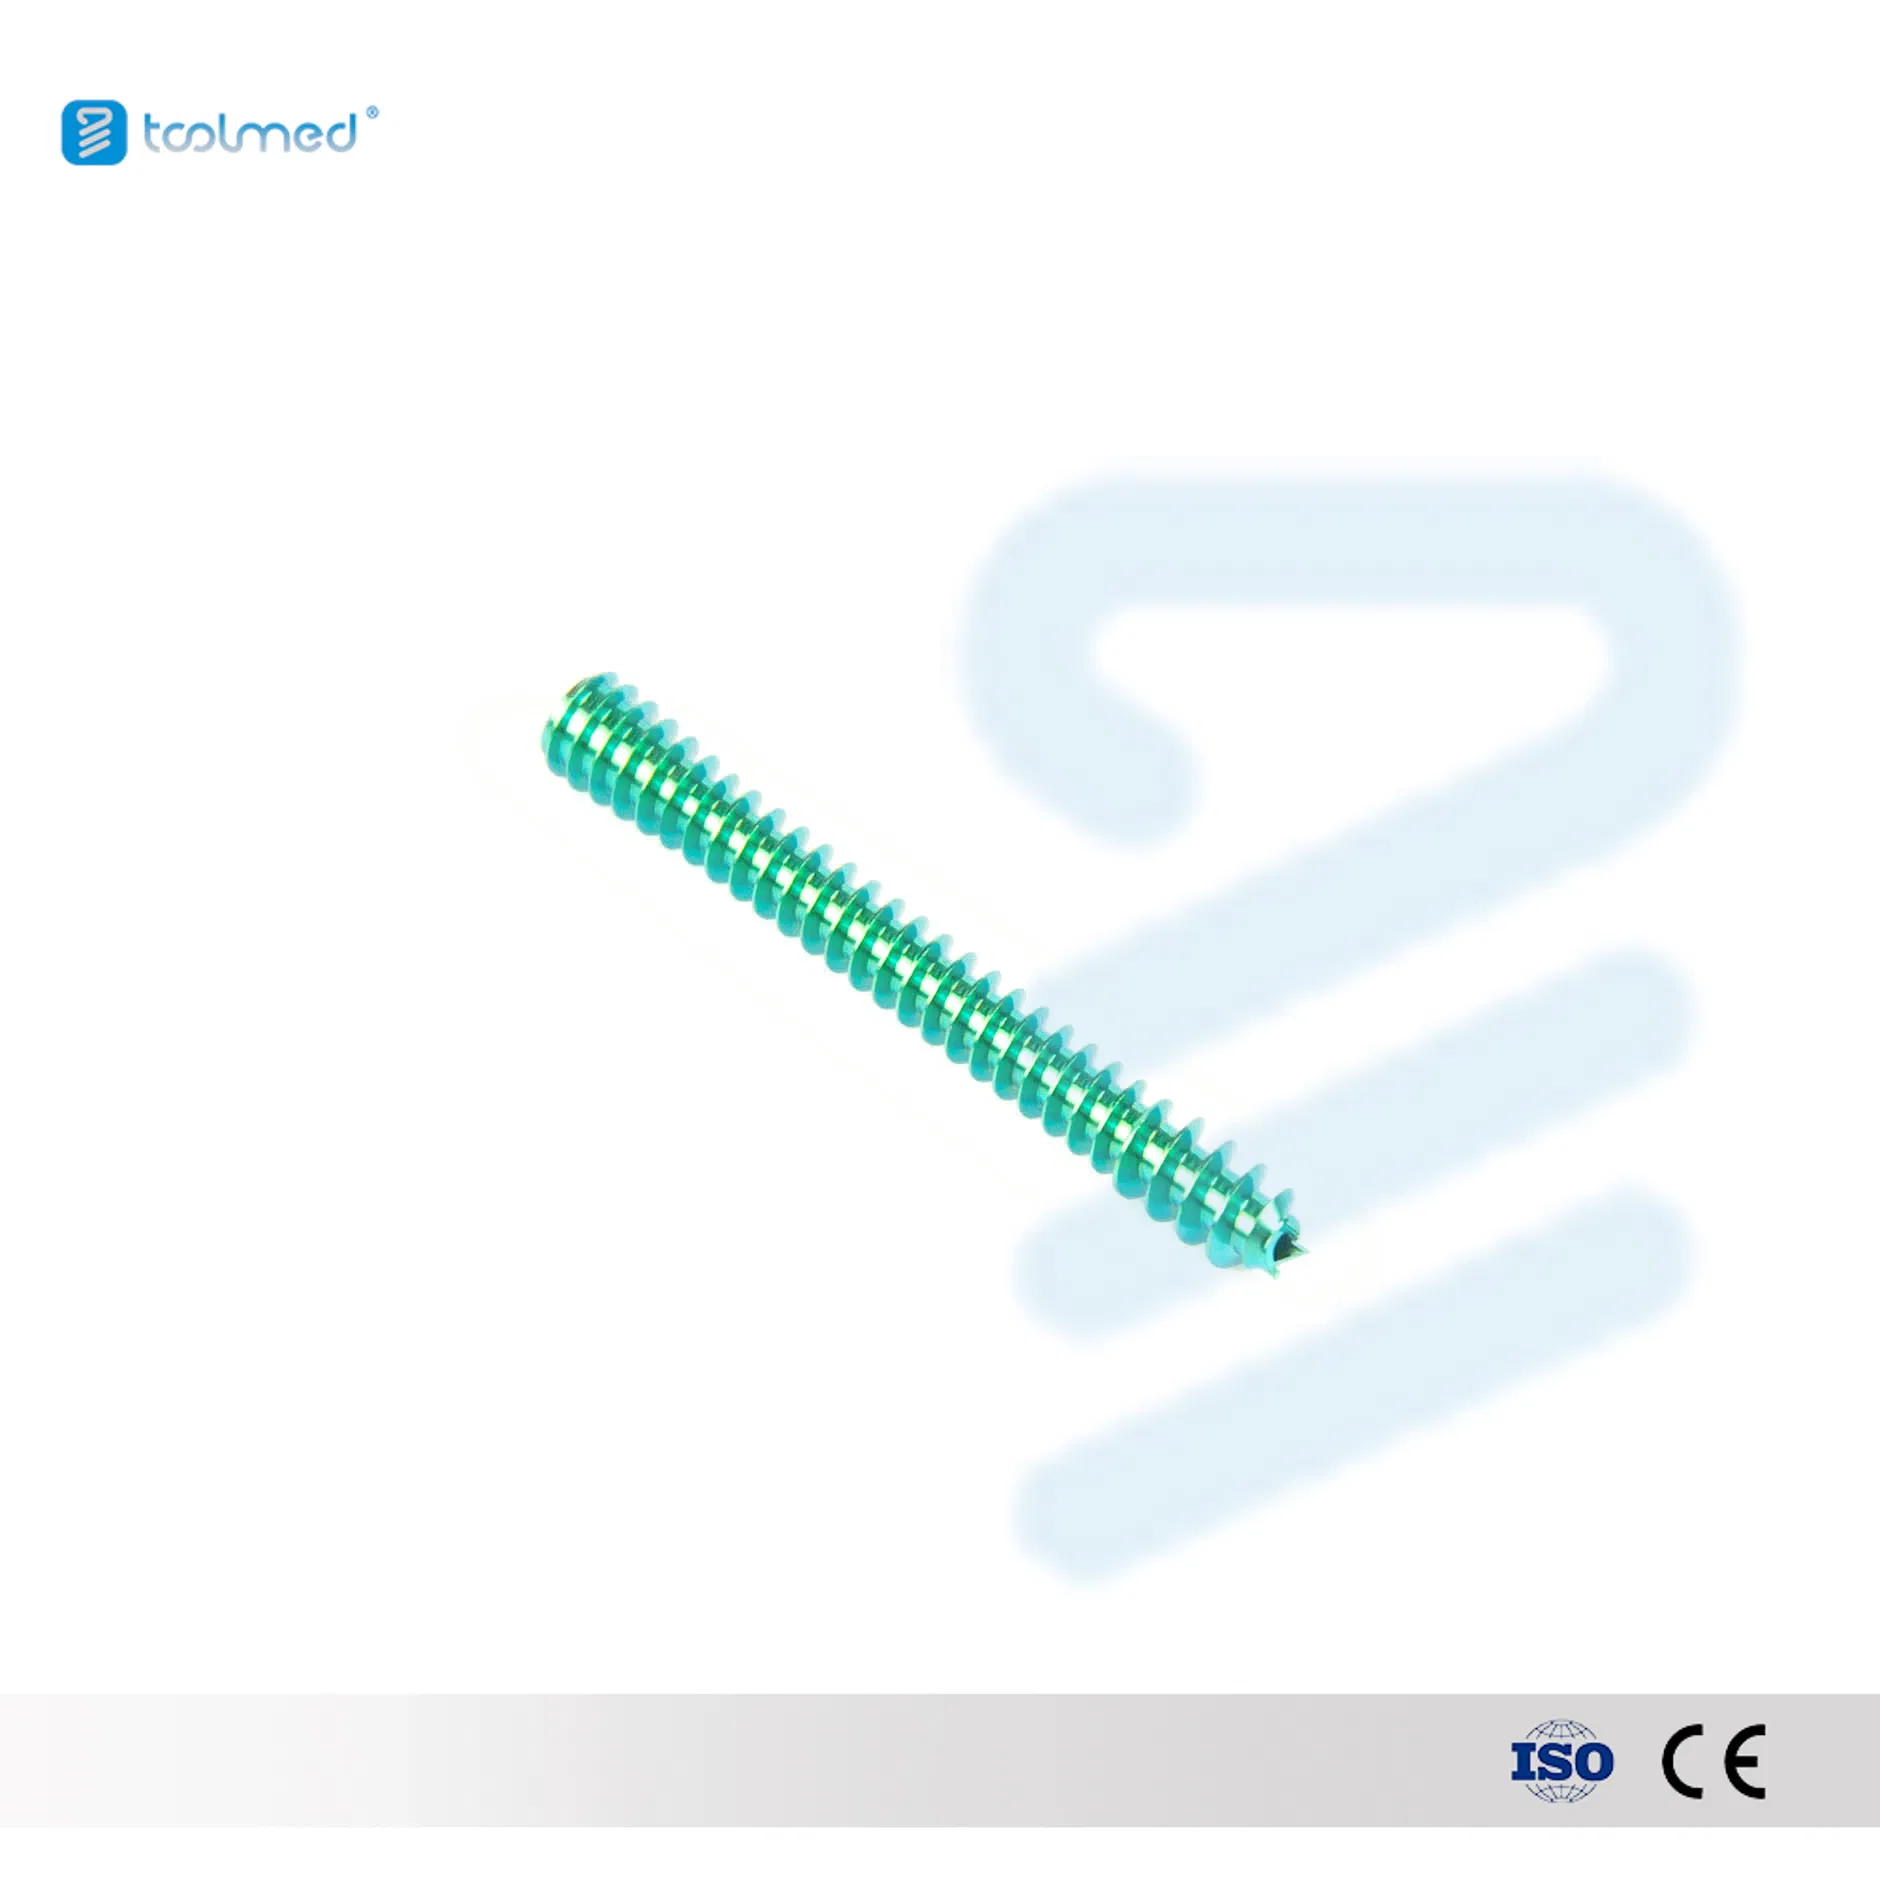
The Headless Compression Screw is a specialized cannulated orthopedic implant used primarily for scaphoid fracture fixation. It is designed to generate compression across the fracture site and is intended to be countersunk below the articular surface.
Key Characteristics: